Mailjet
- Register and create an account at https://www.mailjet.com/
- Log in
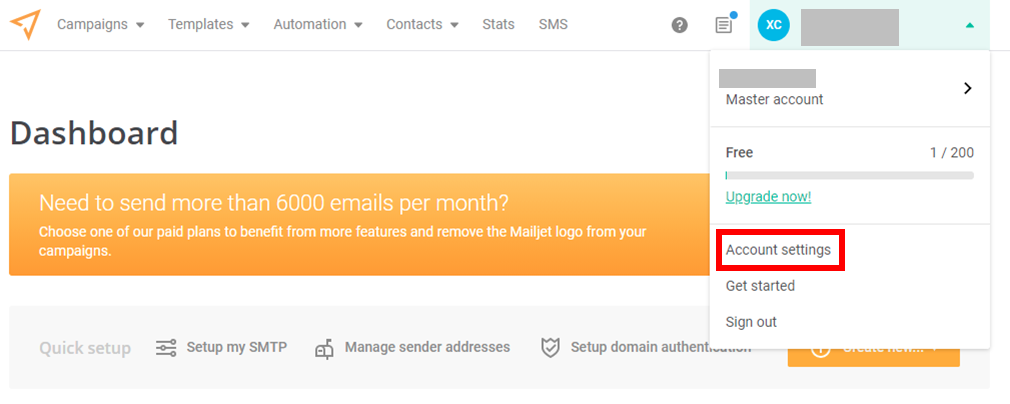
- Goto Account settings page
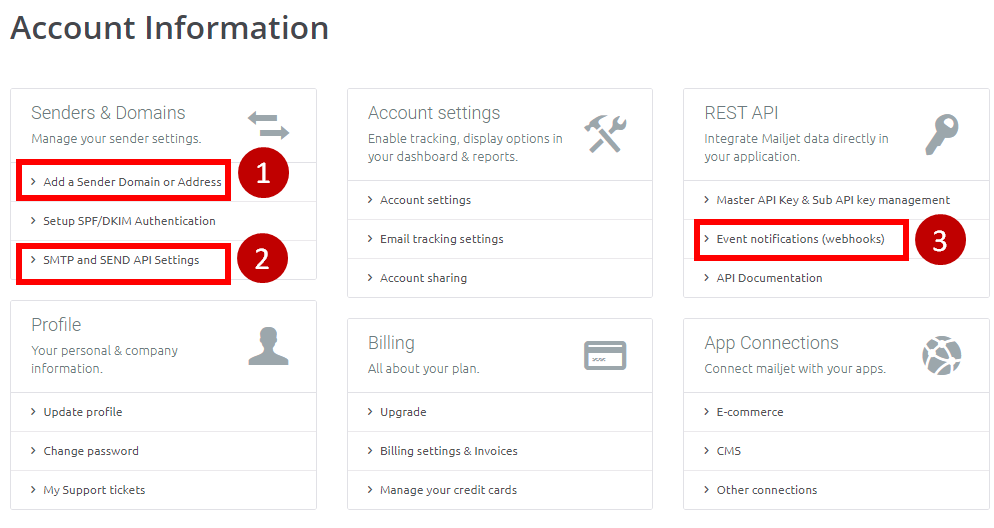
- Add a domain or email address as sender (you can not send emails without first verifying the sending domain or address)
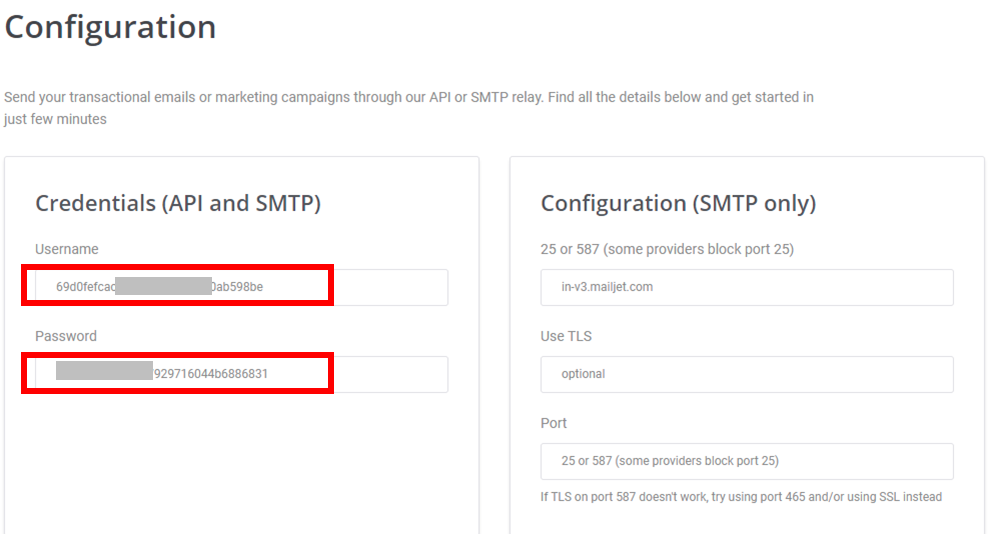
- Obtain the SMTP credentials (username and password. They are not your login username and password)
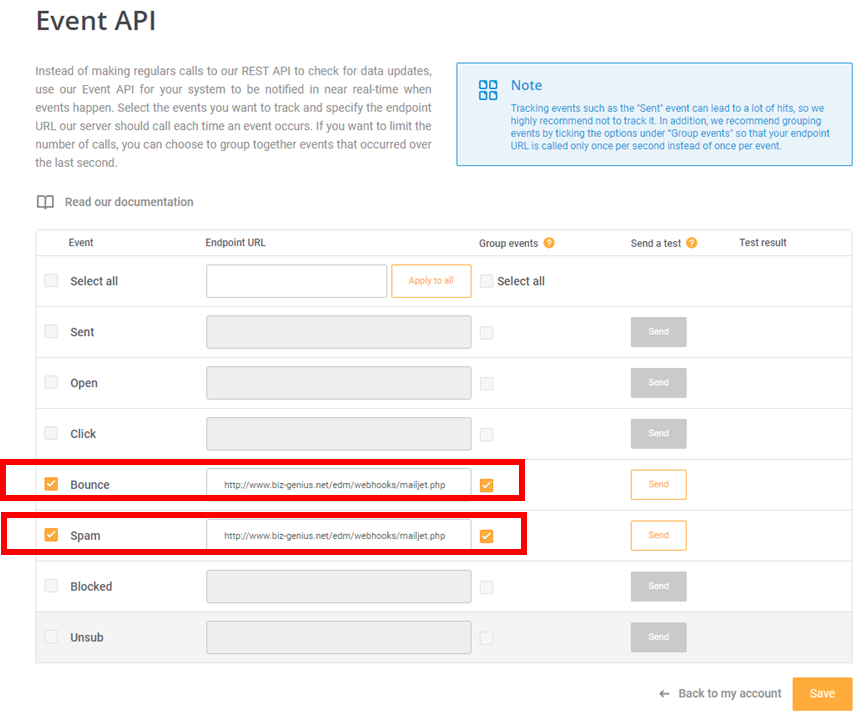
- Set up Event notifications (webhooks). You should only check Bounce and Spam events, and enter the following url:
https://www.biz-genius.net/edm/webhooks/mailjet.php
Mailgun
- Register and create an account
- Login
- On the left you will see menus such as Dashboard, Sending, etc. Click Setting then Billing. In the Billing page, enter your payment method. Usually you should put your credit card.
- You need to verify you own the domain of the from-email. For example, if you plan to send out emails with from-email marketing@abcbiotech.com, then you need to verify you own the domain abcbiotech.com. Other backend services such as Mailjet or Amazon SES do not require you to verify the domain, but need to verify the email itself (which is easier than domain verification).
- Click Sending, then Domains. Click the button “Add New Domain”.
- Enter your domain name, e.g. abcbiotech.com
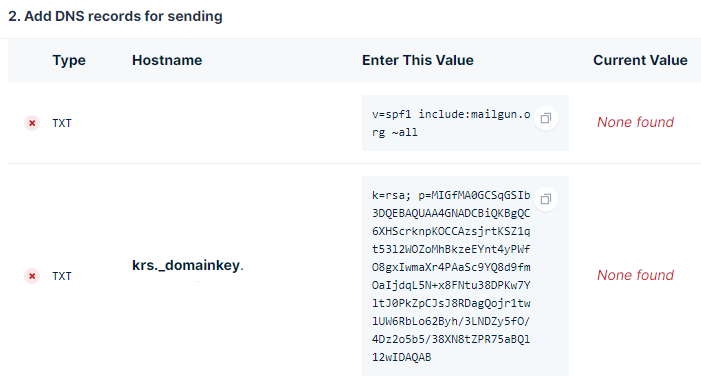
- Keep the default options, and click “Add domain”. Now you will see instructions to add DNS records. You only need to update your DNS record for the two TXT types.

- Go to your domain manager, and update the DNS record. If you use Godaddy to manage your domains, then login to Godaddy, find your domain, and click manage DNS. Add the two TXT types.
- In Mailgun, check DNS update every few minutes, until Mailgun find the domain updated, and the domain is ready to send.
- You may add multiple sending domains if you want to.
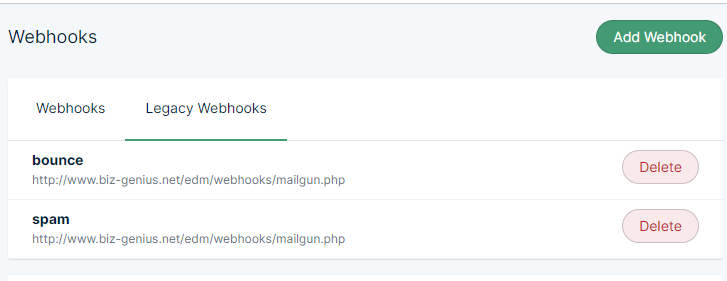
- Now let’s set up webhooks. When an email was bounced or the contact clicked “spam report”, Mailgun will receive a message from the ISP, and in turn it will send the message to our program via webhooks. Click Sending then Webhooks, make sure your domain is selected, and click Legacy Webhooks.
- Click “Add webhook” button, under Event Type select “Hard bounces”, then enter http://www.biz-genius.net/edm/webhooks/mailgun.php Click Create Webhook.
- Click “Add webhook” button, under Event Type select “Spam complaintss”, then enter http://www.biz-genius.net/edm/webhooks/mailgun.php Click Create Webhook.
-
Now you have two webhooks.

-
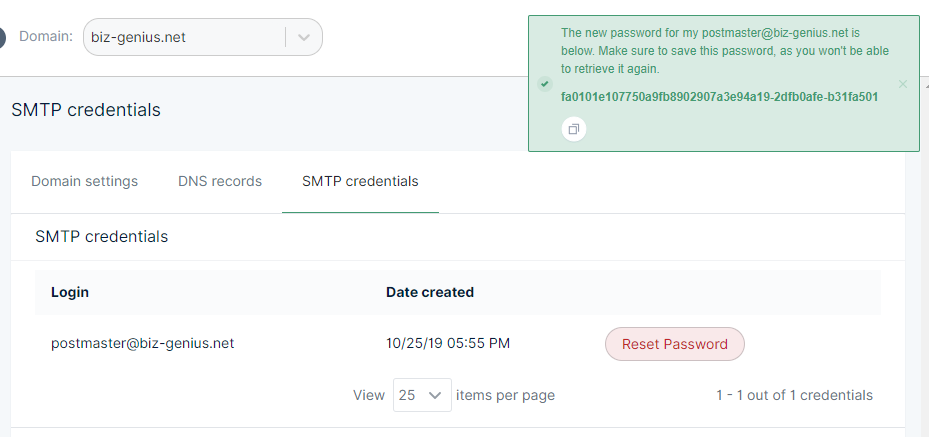
Next we need to get our SMTP credentials, which will be used by our program to send emails. Click Sending then Domain Settings, click SMTP credentials tab. Click Reset Password button and get a new password. Please take note of this password as well as the Login name, which is usually postmaster@yourdomainname.com

- Send the credentials in the above step to our team, and we will connect it to our front end. Now you can send emails!
Sparkpost
Link: https://www.sparkpost.com/
Sparkpost is a reputable backend email sending service provider. It offer a free plan which allows you to send 500 emails per day, 100,000 emails a month. Beyond that, the cost is about $0.2 per thousand, which is also fairly cheap. Below is a step by step instruction on how to register a SparkPost account and obtain the smtp parameters to configure your front-end email marketing software (e.g. BizGenius).
- Visit SparkPost home page https://www.sparkpost.com/
- Click “Try for free” and enter your email and password to register.
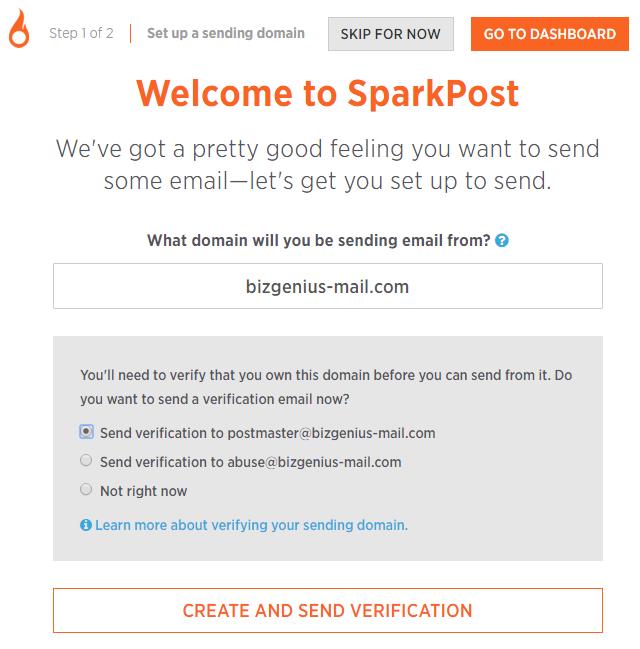
- For the next step, it will ask you to enter a “Sending domain”, which can be a different domain from the email address you entered in step 2. Select “Send verification to postmaster@” to verify this sending domain. Only emails from the verified sending domains can be sent through sparkpost.

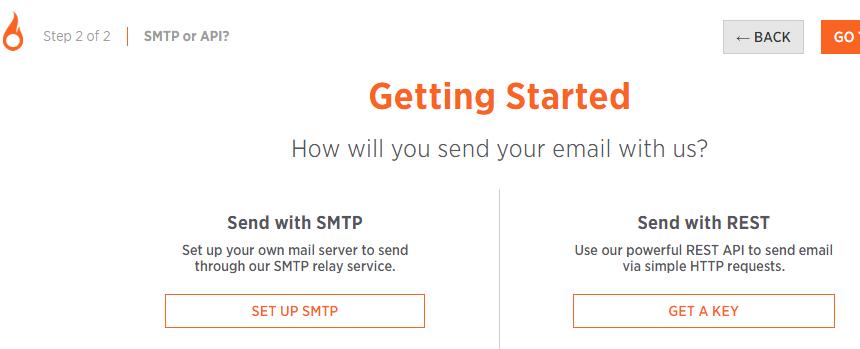
- In the next step, select “SET UP SMTP”

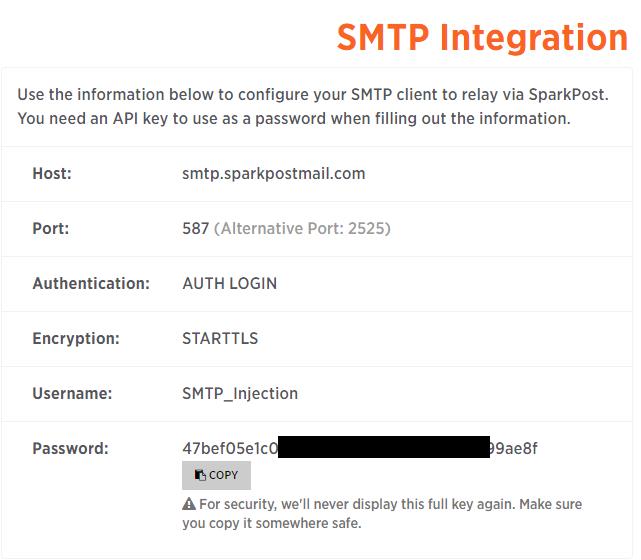
- Now it shows you the SMTP parameters. You will use this to configure your front-end email marketing software.

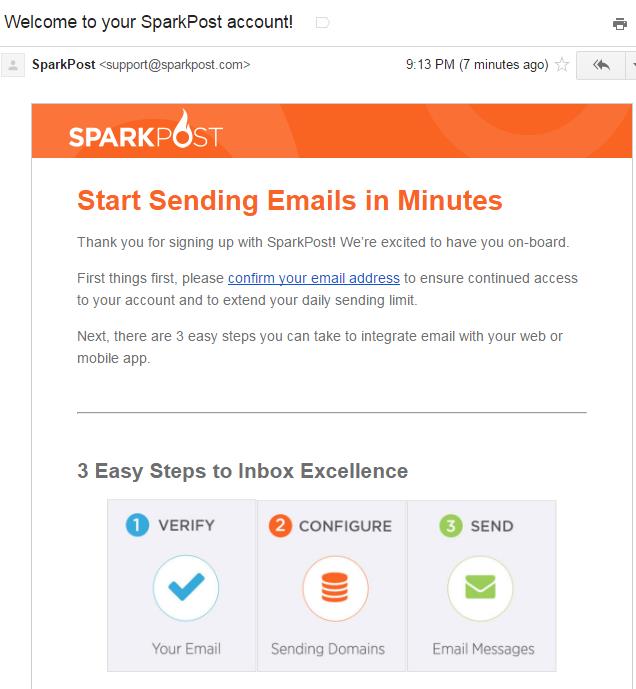
- You should have received two emails. The first one is to confirm you own the email which you used to register. Please confirm this email.

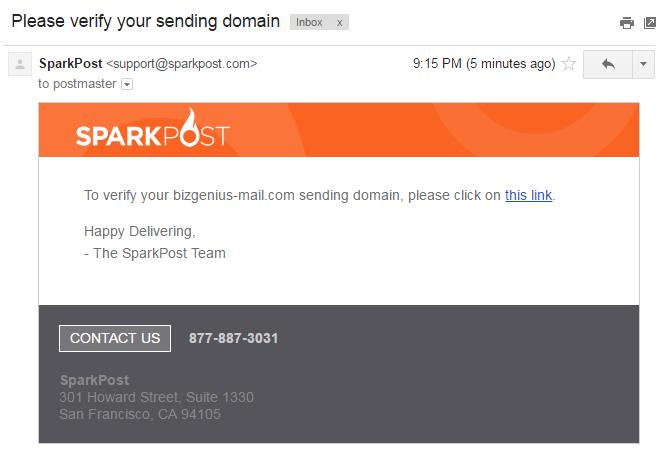
- The other email is to verify your sending domain. This email was sent to postmaster@ email address. Please verify.

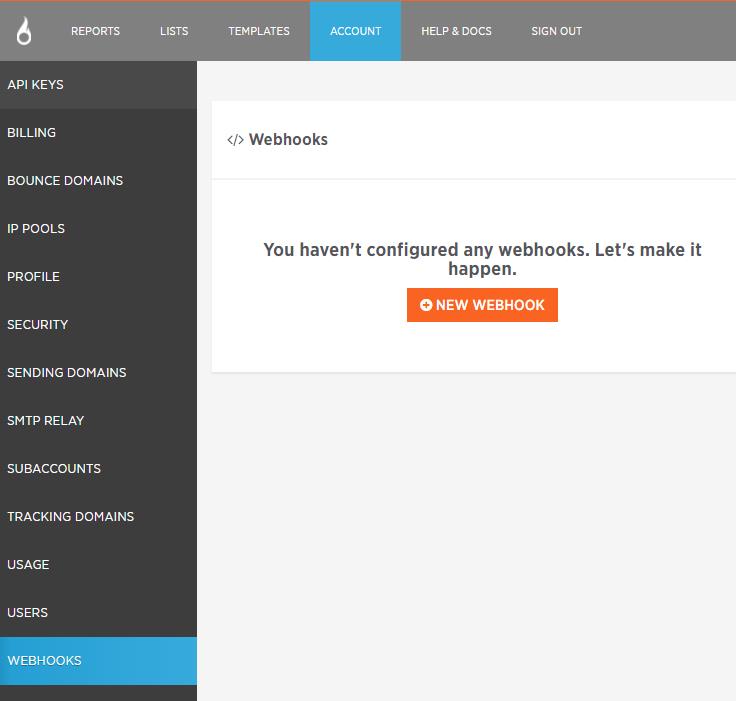
- Now let’s setup webhooks. Webhooks notify your email front-end when an email is bounced, or when the recipient clicked “Spam Report”. Your front-end should mark these emails to prevent future sending. To setup a webhook, click Account and then Webhooks in the main administration area. Then click button “New webhook”.

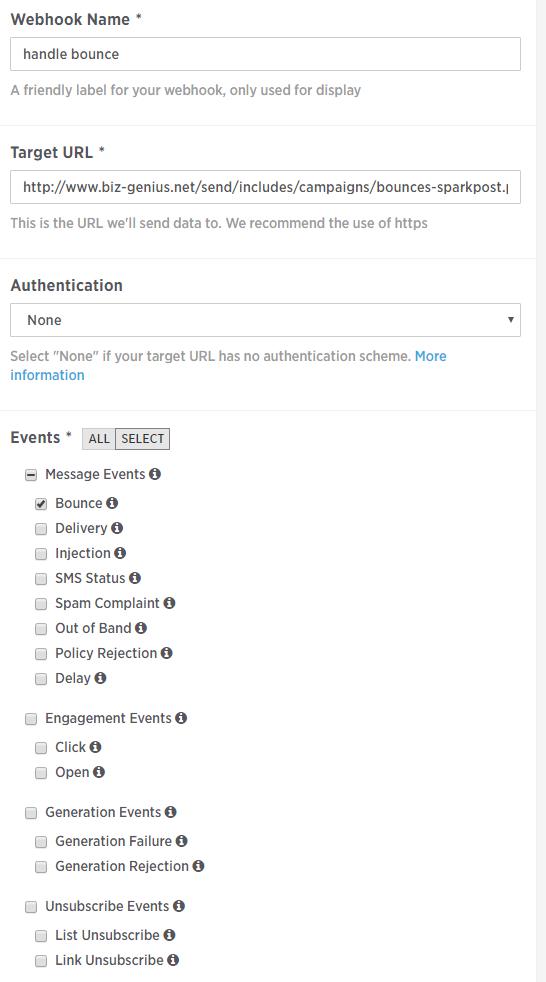
- Create a new webhook to handle bounces (bounced emails). You need to enter the target URL http://www.biz-genius.net/send/includes/campaigns/bounces-sparkpost.php, and also select event “Bounce”

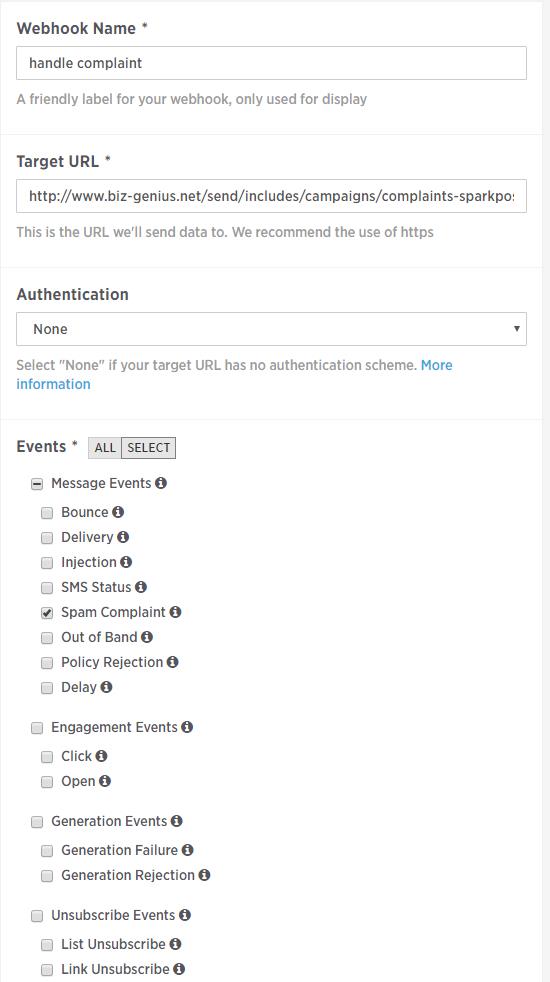
- Similarly, create a new webhook to handle spam complaints. The target URL is http://www.biz-genius.net/send/includes/campaigns/complaints-sparkpost.php, and the event is “Spam complaint”.

- That’s it. Now you should setup your email front-end with the SMTP parameters in Step 5.
- If you send more than 500 email/day or 100K per month, please add a credit card in SparkPost.